H1-Stop Chasing the “Perfect” Trace
H2-Stop Chasing the “Perfect” Trace
H3-Stop Chasing the “Perfect” Trace
H4-Stop Chasing the “Perfect” Trace
H5-Stop Chasing the “Perfect” Trace
H6-Stop Chasing the “Perfect” Trace
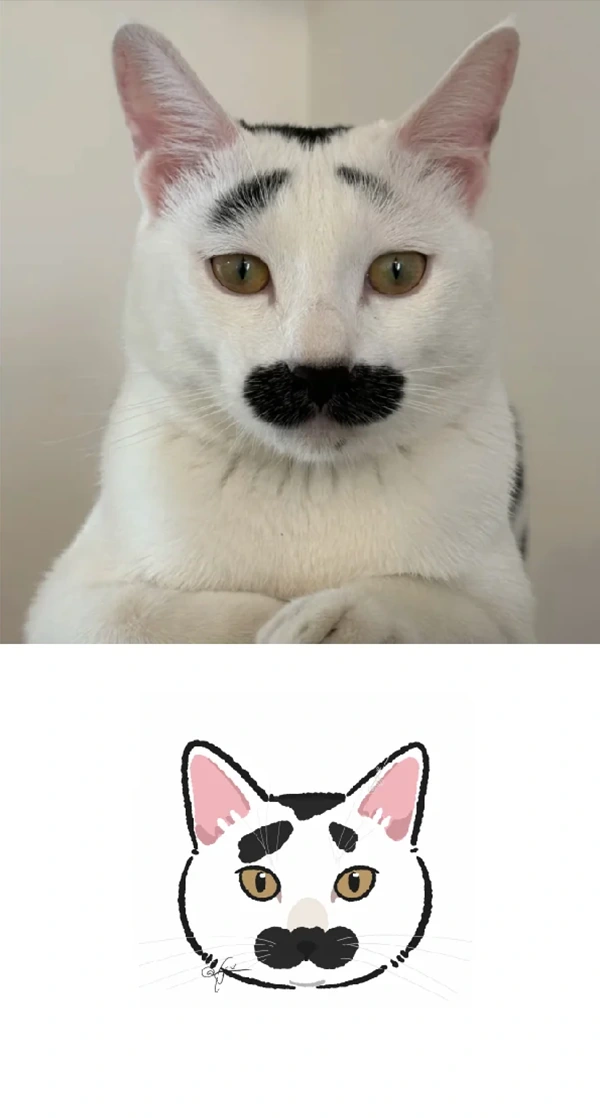
1-How to Paint Pet Portraits That Actually Feel Alive
How to Paint Pet Portrait How to Paint Pet Portraits That Actually Feel Alive s That Actually Feel Alive
2-How to Paint Pet Portraits That Actually Feel Alive
How to Paint Pet Por How to Paint Pet Portraits That Actually Feel Alive traits That Actually Feel Alive
Beyond the Photo: Bringing Soul to Your Pet Portraits
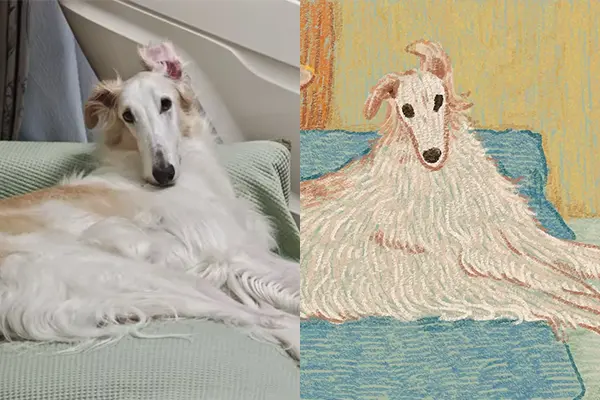
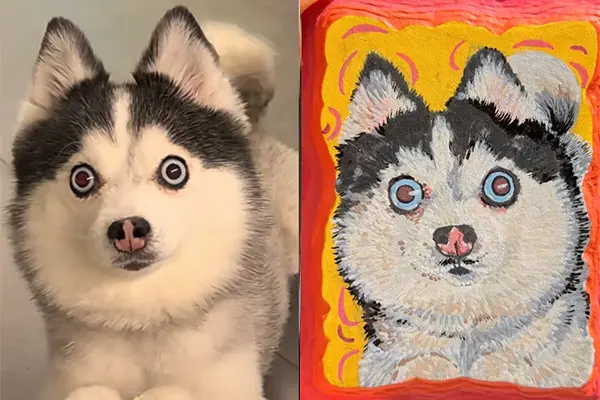
There is a massive difference between painting a dog and painting your dog. One is a study of anatomy; the other is a capture of character. If you’ve ever finished a portrait only to feel like it looks “flat” or a bit “off,” you’re likely missing the small, organic elements that distinguish a living being from a static image.
Stop Chasing the “Perfect” Trace
Many artists get trapped trying to trace a reference photo to the millimeter. While accuracy is important, a rigid trace often leads to a stiff painting. I’ve found it’s better to start with a loose gesture sketch.
Focus on the “weight” of the animal. Is the head tilting with curiosity? Is there a slight sag in the jowls? Capture the energy first. You can adjust the length of a muzzle later, but you can’t easily inject personality into a clinical drawing once the paint is dry.
The “Clump” Theory of Fur
The quickest way to make a portrait look amateur is trying to paint every individual hair. If you do this, your pet ends up looking like a pile of needles. Instead, think of fur as fabric with depth.
-
- The Base Layer: Use a much darker value than you think you need. If you’re painting a white cat, your deepest shadows might actually be a cool blue or a muted violet.
-
- The Valleys: Map out the dark “valleys” where the fur parts. When you finally lay down those bright, wispy highlights on top, they will actually have a “home” to sit in, creating a 3D effect.
Pro Tip: Only use your smallest “rigger” or “liner” brush for the very last 5% of the painting. The rest should be handled with larger brushes to keep the work from looking overworked.
The Anatomy of “Wetness”
What makes a portrait breathe? It’s the moisture. This is most evident in the eyes and the nose.
For the nose, avoid using flat black. Use a mix of burnt umber and ultramarine blue. To get that leathery texture, take a slightly dry brush and dapple a lighter grey-blue on the top surfaces. This simulates the way light hits the microscopic bumps on a dog’s snout.
For the eyes, the “catchlight” (that tiny white spark) should never be a random dot. It needs to reflect your light source. If your pet is sitting near a window, that highlight should be a tiny square or rectangle, not a perfect circle. That small shift in shape makes a world of difference.
Keep the Background Quiet
A busy background is the enemy of a good portrait. I prefer a painterly approach—loosely scrubbing in colors that complement the pet’s coat. If you have a chocolate lab, try a muted teal or forest green background. Let the edges of the fur “melt” into the background slightly to avoid that “sticker” look where the animal looks pasted on.
The Finish Line
The hardest part is knowing when to stop. If you find yourself “petting” the canvas with tiny, repetitive strokes, you’re likely overworking it. Put the brush down, walk away for an hour, and look at it from across the room. Usually, the “imperfection” you were worried about is exactly what gives the piece its handmade charm.
What’s the most challenging coat color you’ve ever tackled? I find solid black coats the hardest—balancing the sheen without making them look grey is a real workout. Let’s discuss in the comments!


